You will have to download and install Brother utilities scan first before you can use it. The following method of installing the scanner driver is applicable for Windows. Make sure to install the driver before you can connect the scanner. Your computer should be turned on. You should be logged in with Administrator rights too.
How to Download and Install Brother Utilities Scan
Here are the steps:
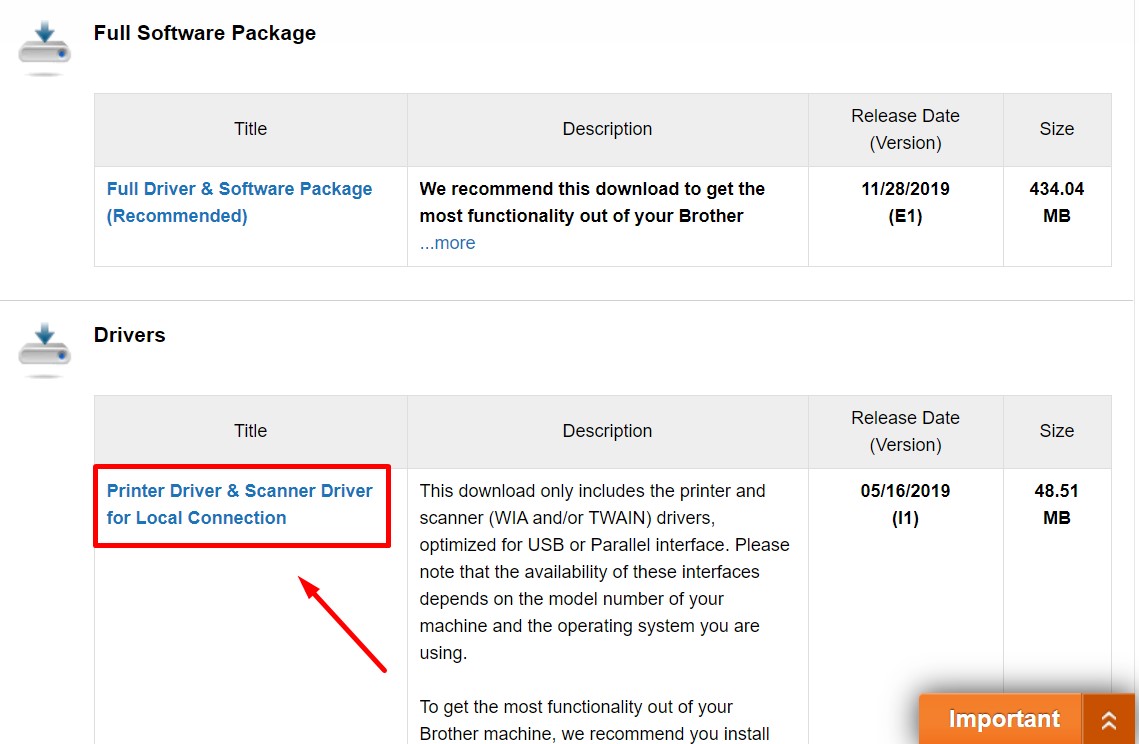
- Put the driver DVD to the computer. If you don’t have the DVD, then you need to download it. You can go to the official website of Brother and type in the printer’s type. Visit our homepage if you don’t know how to download the driver.
- Once you are given the link to download the scanner driver, do it. Simply follow the instructions and you are good to go. In the License Agreement window, you need to tick the box ‘I accept the terms in this agreement’. Once you do it, you can access the ‘Next’ button, allowing you to continue.
- Once the installation completes, you should see a box (Scanner Connection). You need to follow the provided instructions so the installation process would complete entirely.
How to Use the Scan
Now that you already install the scanning feature, it’s time for you to operate it. Here are the setting management for Windows:
- Access the ControlCenter. For Windows 7 or 10, click Start or Windows icon, choose All Programs (or All Apps), choose Brother, and pick Brother Utilities. On Windows 8, click Start icon and then click the icon arrow facing downward. Choose All Apps, and then Brother Utilities.
- Go with ‘Scan’ options
- Choose ControlCenter4. For the unsupported models, choose Start or Windows icon, go with All Programs, choose Brother, and then XXX –XXX (it should be your printer’s model or type), and then ControlCenter4.
- Open the Device Scan Settings. In Home Mode, choose the tab Device Settings, and then Device Scan Settings. If you are using Advanced Mode, the options are the same.
Once the Device Scan Settings appear, choose the tab File and then pick the format within the file type. For instance, if you are going to produce pdf, then choose pdf. Make sure you have configured the settings (the name of the file, the destination, etc) and choose OK.
Here are the steps to scan the documents:
- Load the documents
- Press the button Scan
- Set it to Scan to PC and then OK. Use the arrow Up or Down to do it
- If your machine has been connected to the network, choose your destination computer and then OK. In the event you are required to enter a PIN, it should be the PIN for your destination computer
- Click Start
That’s the general steps. If you want to get the details of the work (changing the setting, etc), explore around and consult the internet as your guidance to manage Brother utilities scan.